Disclaimer: PLEASE! Nobody use this post as a how-to for refinishing furniture. I made some mistakes that maybe you can learn from (bolded), but I am not in any way an expert. If you want good tips on painting or staining furniture, try this blog post.
About two and a half years ago, I was very pregnant with El Guapo. We were living in a two-bedroom basement apartment. While the second bedroom was large, the closet was where the laundry hookups were, so all the boys’ clothing, toys, shoes, laundry, and other stuff needed to be inside the room itself. Every inch of wall space was used, and while at one point we’d had bunk beds (for Lego) and a crib (for Duplo) in the room at the same time, we’d gotten some more toys and toy storage since then. We might have been able to move some of the toys to the living room, or get rid of some, to fit the crib, but storing the baby’s clothing was going to be a problem. We’d been looking at three-bedroom apartments in the area with no luck, and so I’d basically decided that if we were going to stay, we’d have to figure out a way to make it work.
I found a dresser at a yard sale that seemed just perfect. I wish I’d taken before pictures of it. It was in bad shape, with deep scratches on the top and long cracks on both sides where the “wood” was actually splitting away from the furniture. The finish was very dated and ugly. But the top and drawers were solid wood, and there were eight good-sized drawers (two columns, four rows). I could picture giving each of the older boys three drawers and the baby the top two, since his clothing would be smaller. Replacing their dresser with one that was a little bigger but that would have enough room for all three boys’ clothes would allow us to, hopefully, squeeze everything into that one bedroom. I bought it for $50 (and I probably overpaid, in hindsight).
Anyway, I started sanding the top down and bought some spray paint, just in time for us to actually find a new place to move. The new place had tons of built-in drawers in the second bedroom, so the dresser wouldn’t be needed. I kept working on it a little at first, but I hit a few snags and mostly gave up.
The first snag was that I spray painted in November in our garage. It was probably under 50 degrees outside, which felt nice enough to work in. What I didn’t know was that in colder temperatures, paint takes much longer to dry. So, even though the paint can said you should wait 10 minutes between coats, paint can still be wet if you leave it to dry overnight! I thought I was home free painting another coat on one of the more intricate drawers after leaving it all night to dry, but the moment I started spraying, the paint bubbled, making a web of really awful-looking blistery wrinkles all over it. I immediately tried to wipe the paint off with a paper towel, but that just made everything worse. It became apparent that I would have to sand the drawer down completely in order to paint, and of course it was one of the top, really intricate drawers that would be an absolute pain to sand.
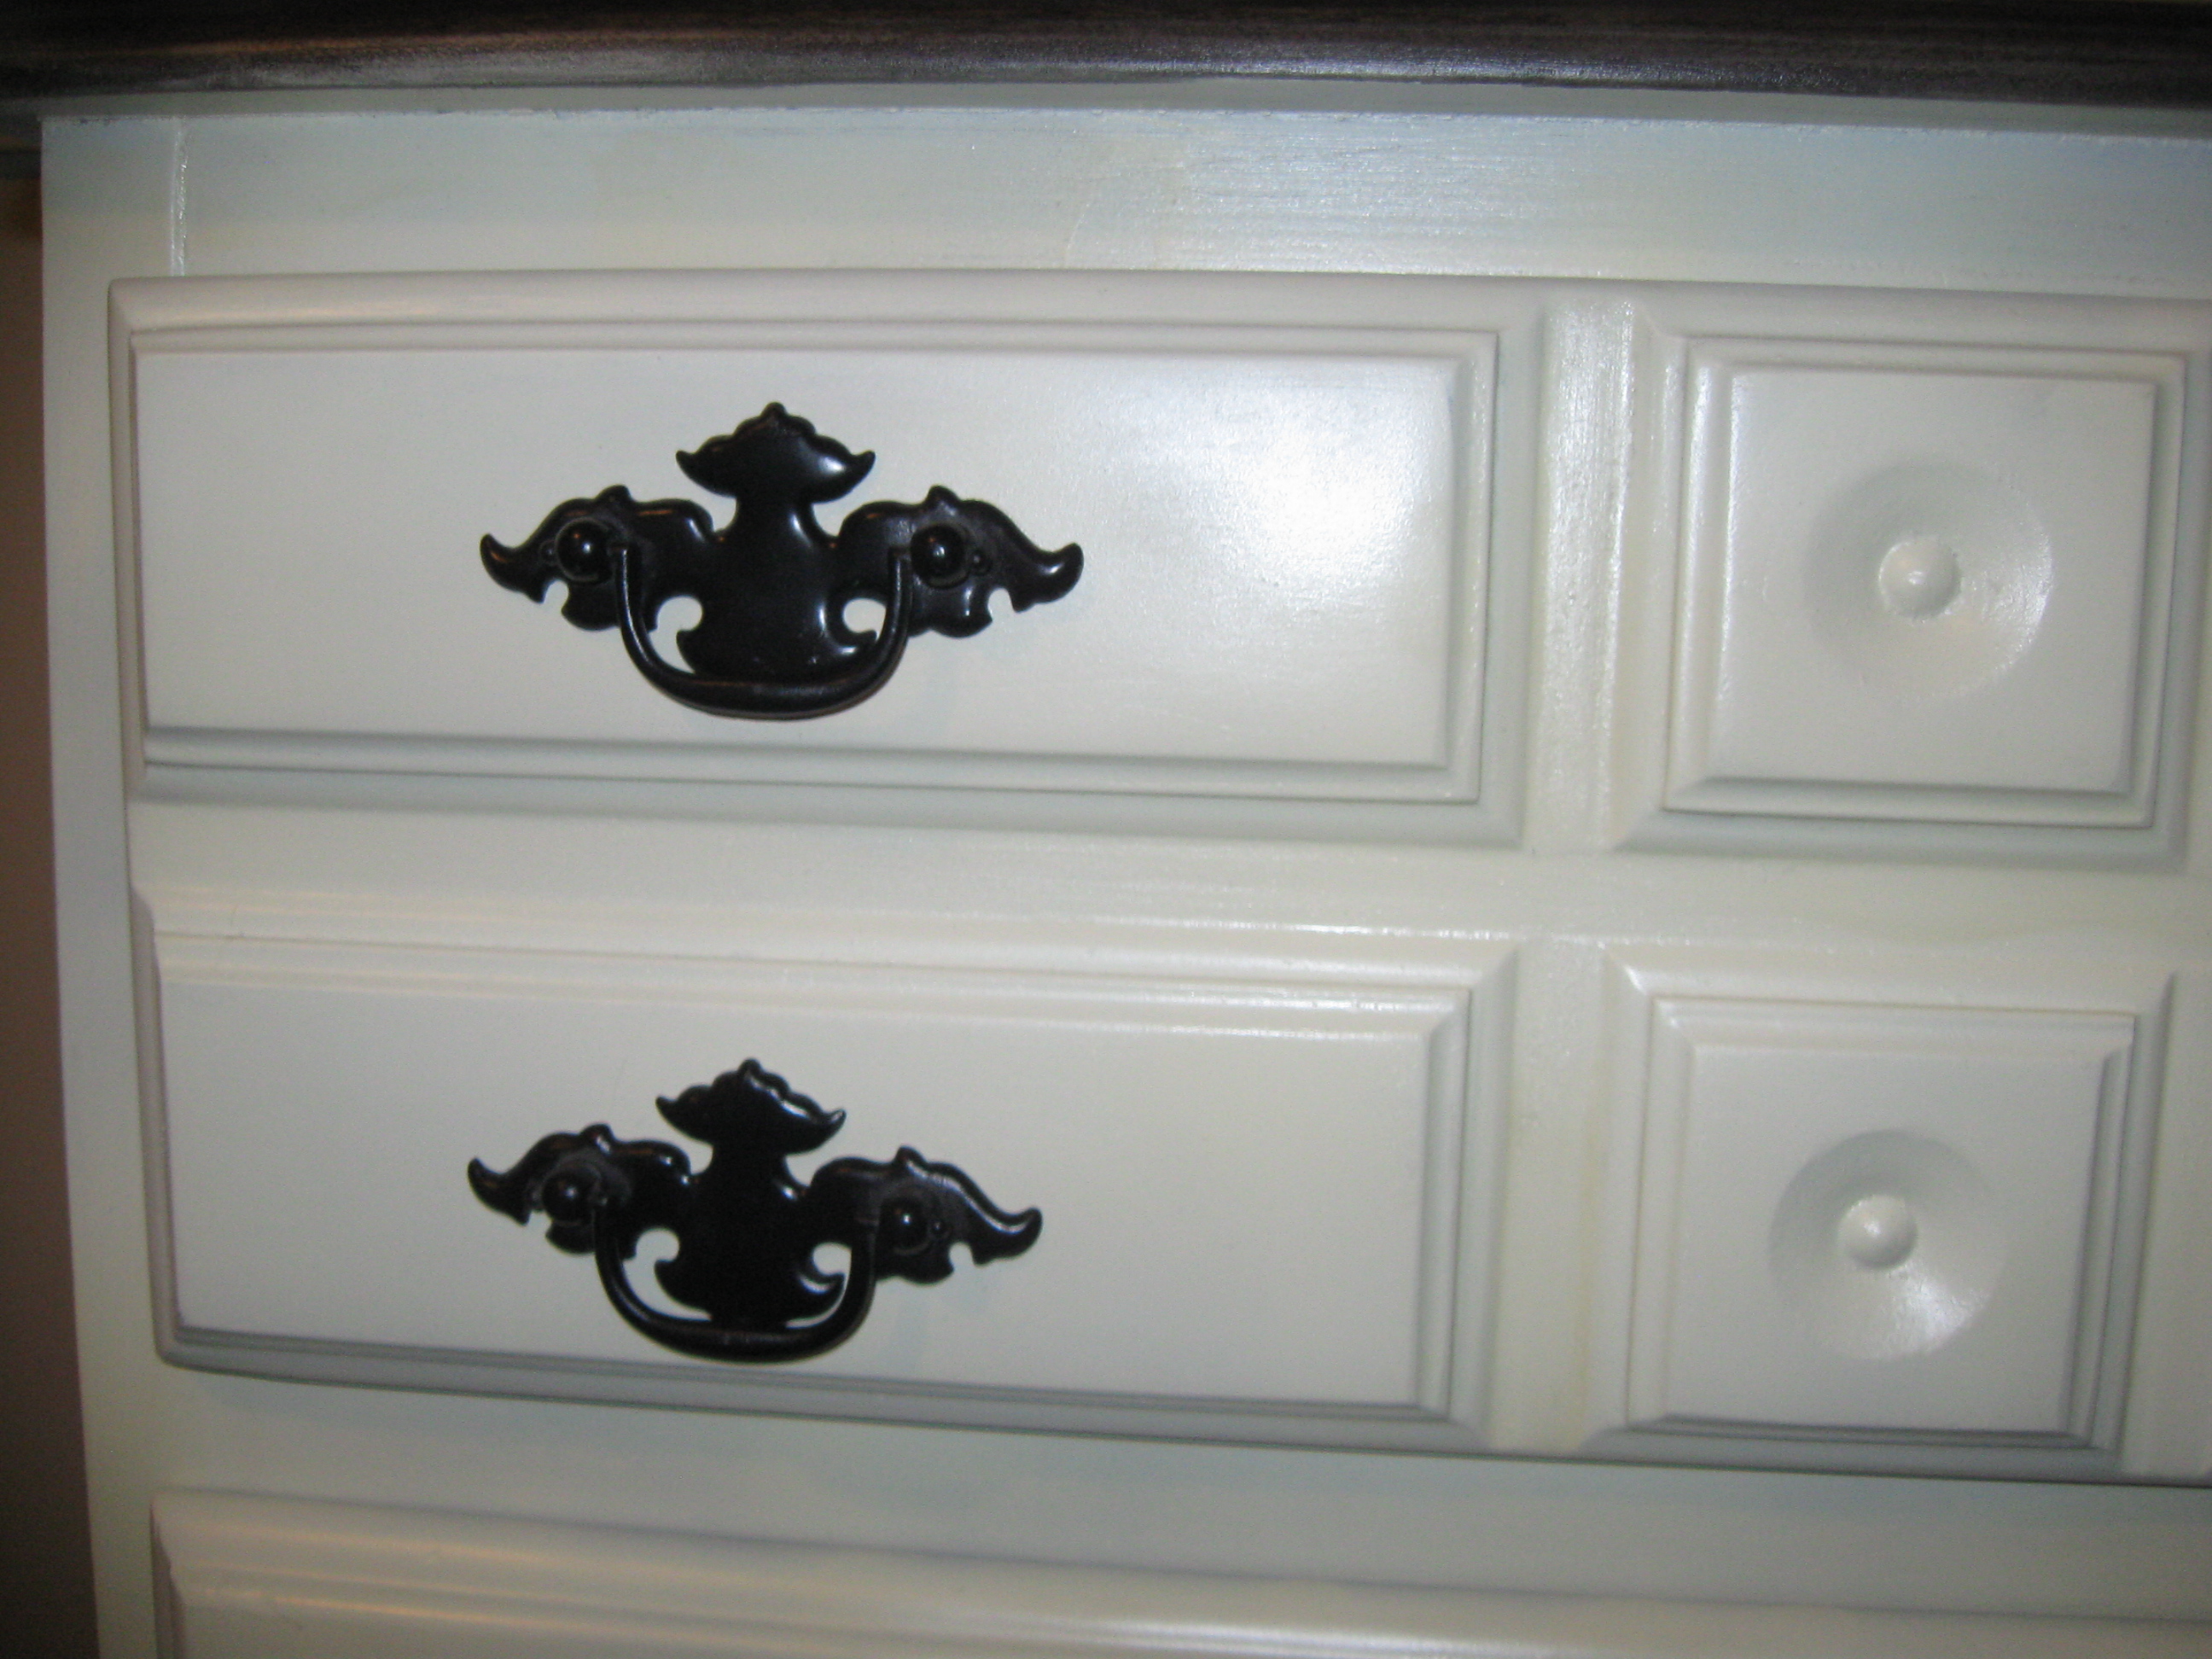
In the end, there was no easy solution. I did have to sand everything down, and use paint stripper in the places where I couldn’t sand. It took lots and lots of elbow grease, but it worked. I’m pretty pleased with the result:
The second snag was that I didn’t know what to do about the cracks in the sides. When I bought the dresser, the guy I bought if from said he’d bought a piece of particle board to replace the worst side, and he gave me his number so I could call him. He said he’d come by and replace it for me. Once I got home, though, I just felt weird about calling a stranger to come and fix a dresser he’d already sold to me. And what did he have in mind? The side wasn’t just a solid rectangle. Did he have a band saw? Would I even like his “repair”? Eventually I lost his phone number.
The blog post I linked to at the top of this post was a lifesaver. It had occurred to me that I could glue the crack shut with wood glue, but there would still be an obvious crack. Realizing that putty could look that good once painted was a revelation! But how would I get the crack to stay glued shut?
In the end, I just rigged something totally stupid up. I glued the crack closed and pressed a phone book up against it. I then tied the phone book as tightly to the dresser as I possibly could so that it would stay there. I recommend using rope for the tying part, but I actually used old shoelaces knotted together because, for some reason, I couldn’t find our rope at the time. It looked really silly, but it worked. The only problem was that the cover of the phone book got glued to the dresser in the process, but I just ripped it and sanded the stuck part off.
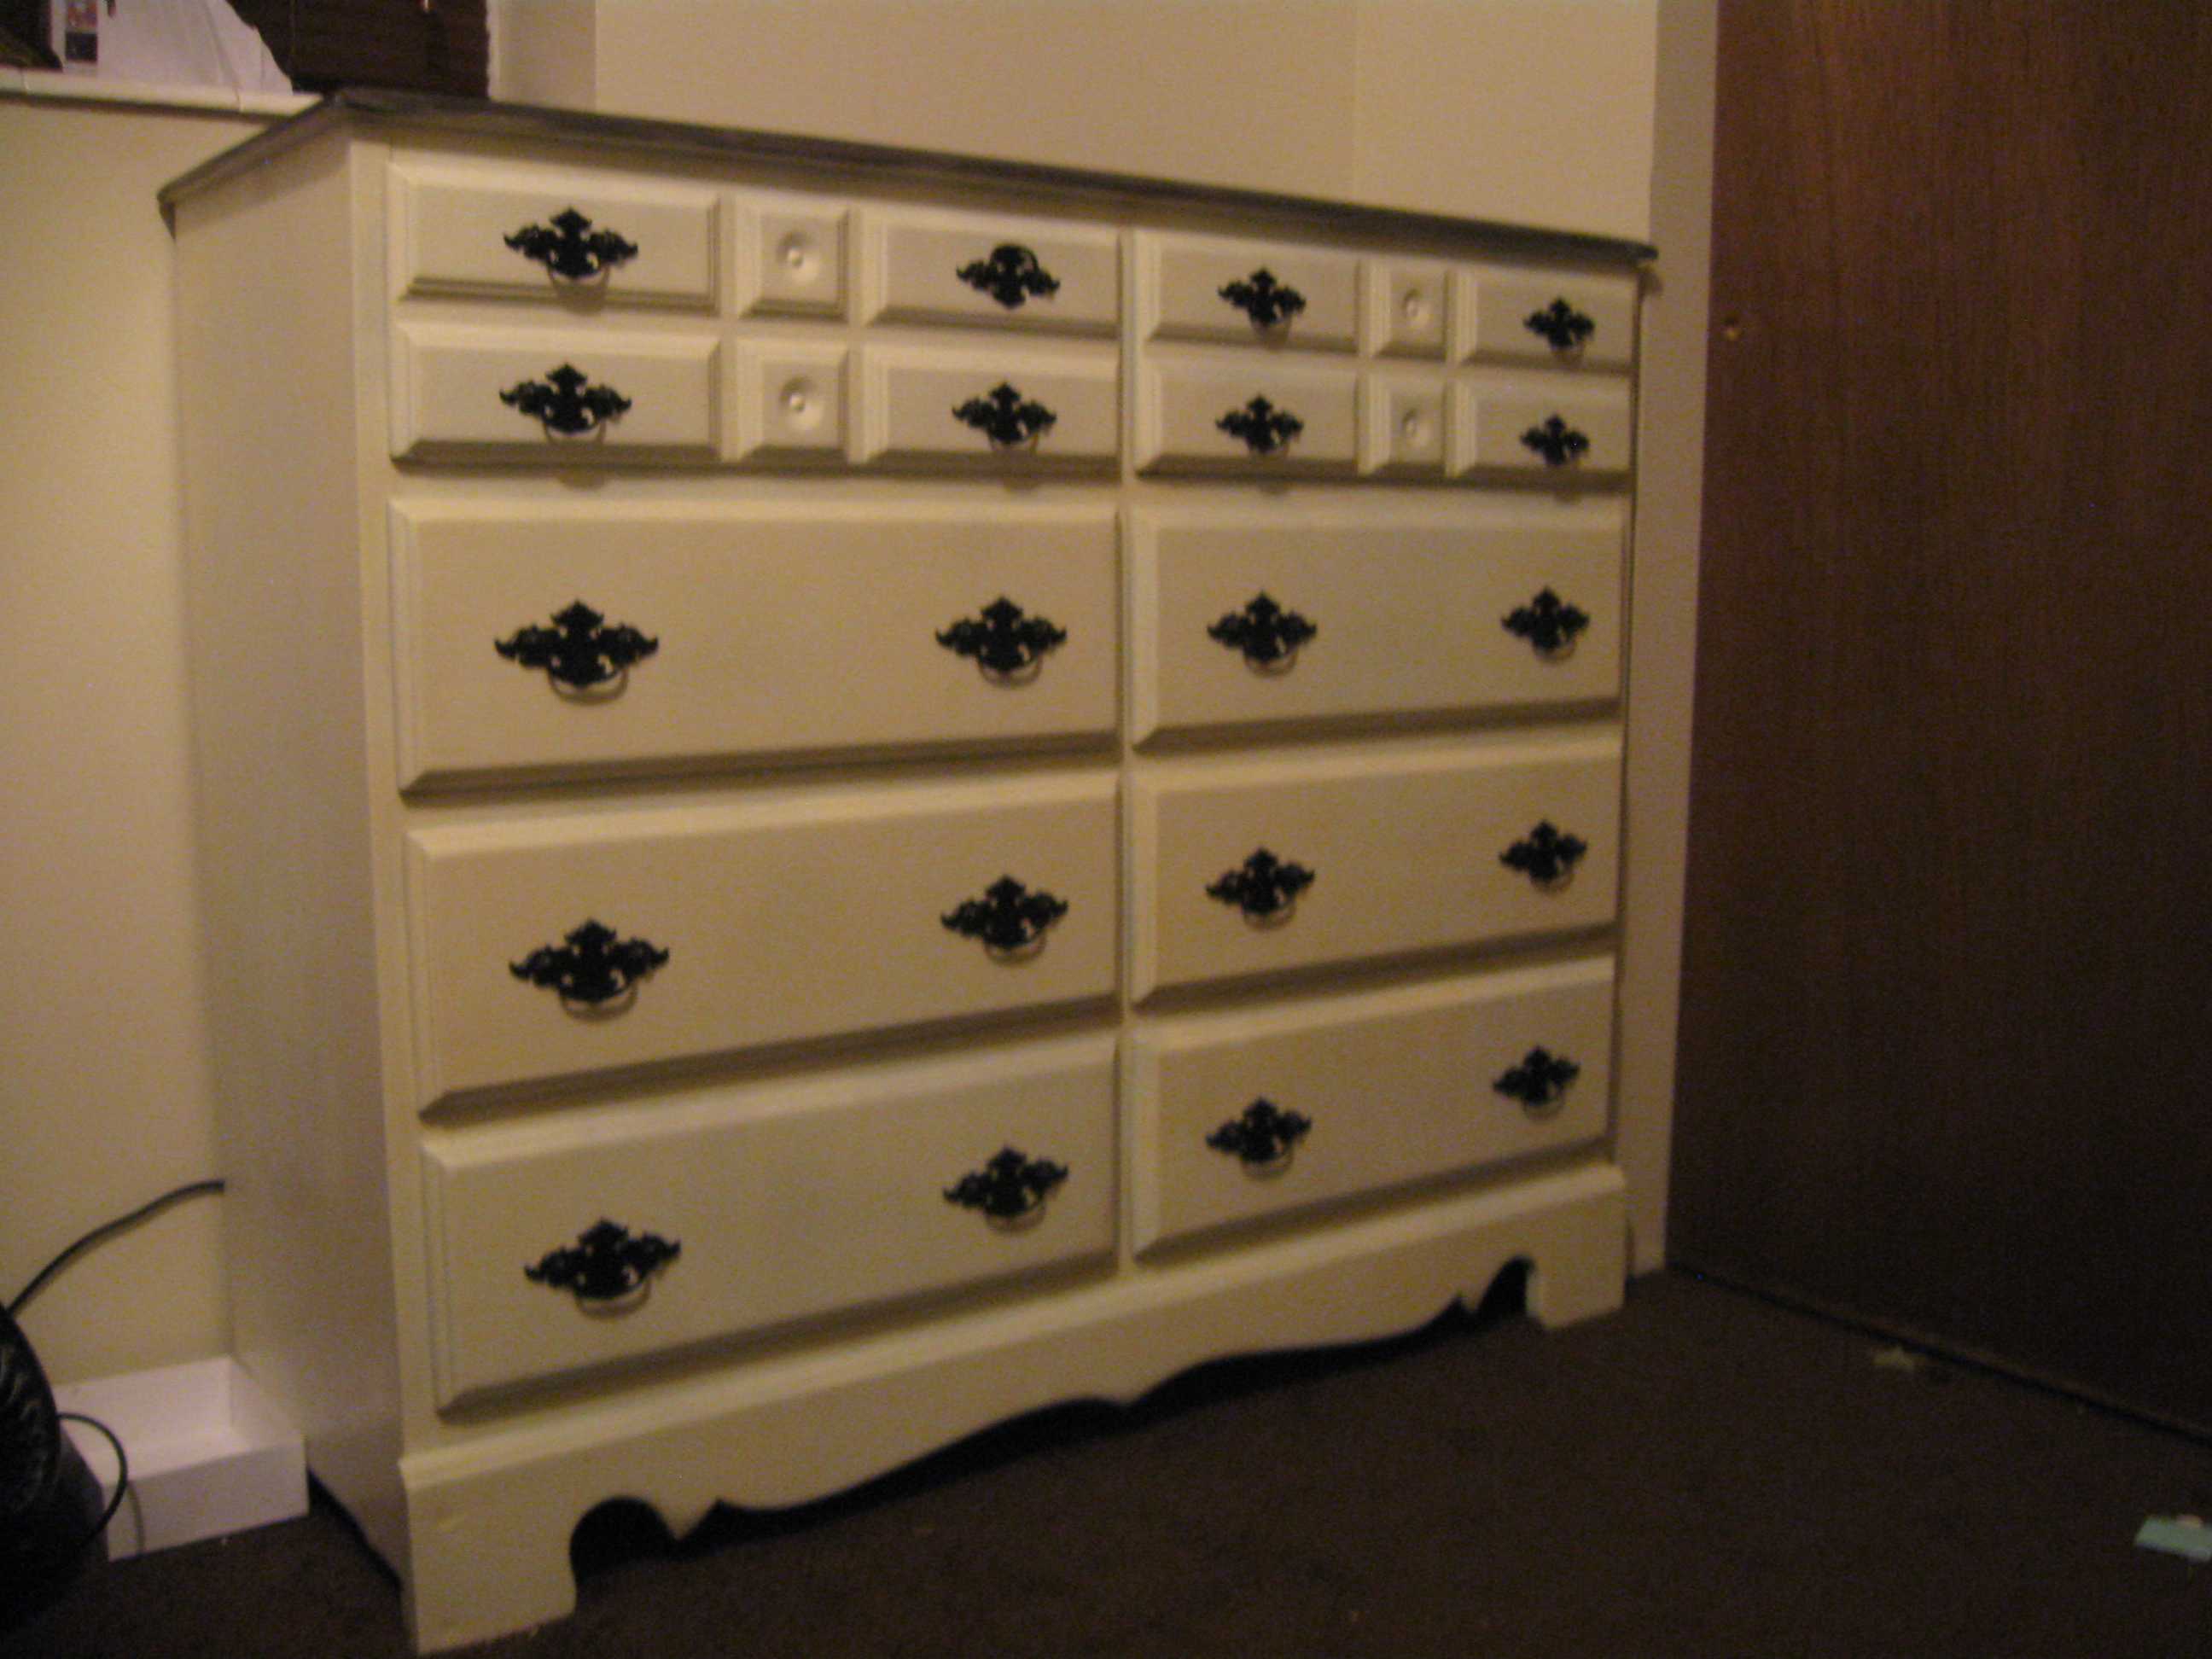
After moving here, we needed the dresser finished ASAP, so I bought some wood putty and applied coat after coat of it to fill in the crack. I’d sand after each coat and then add another until it was mostly smooth. I did get to a point where more coats didn’t really improve things, so I called it good. If you really look, you can tell something’s not quite right in that spot, but I doubt you’d guess that the crack I repaired was as horrible as it really was. It’s on the left side of this picture, where it looks slightly darker and shinier. (This is also the best picture I have of the finished dresser, by the way.)
The third snag was that I had ruined quite a few of the pulls by being stupid and leaving them out to dry while sanding the top of the dresser. I probably don’t need to tell you not to do that. You’ll end up with your pretty, painted hardware covered in a fine layer of sawdust. I had to soak them all in paint thinner and wipe the paint off before repainting them. Don’t be stupid like me.
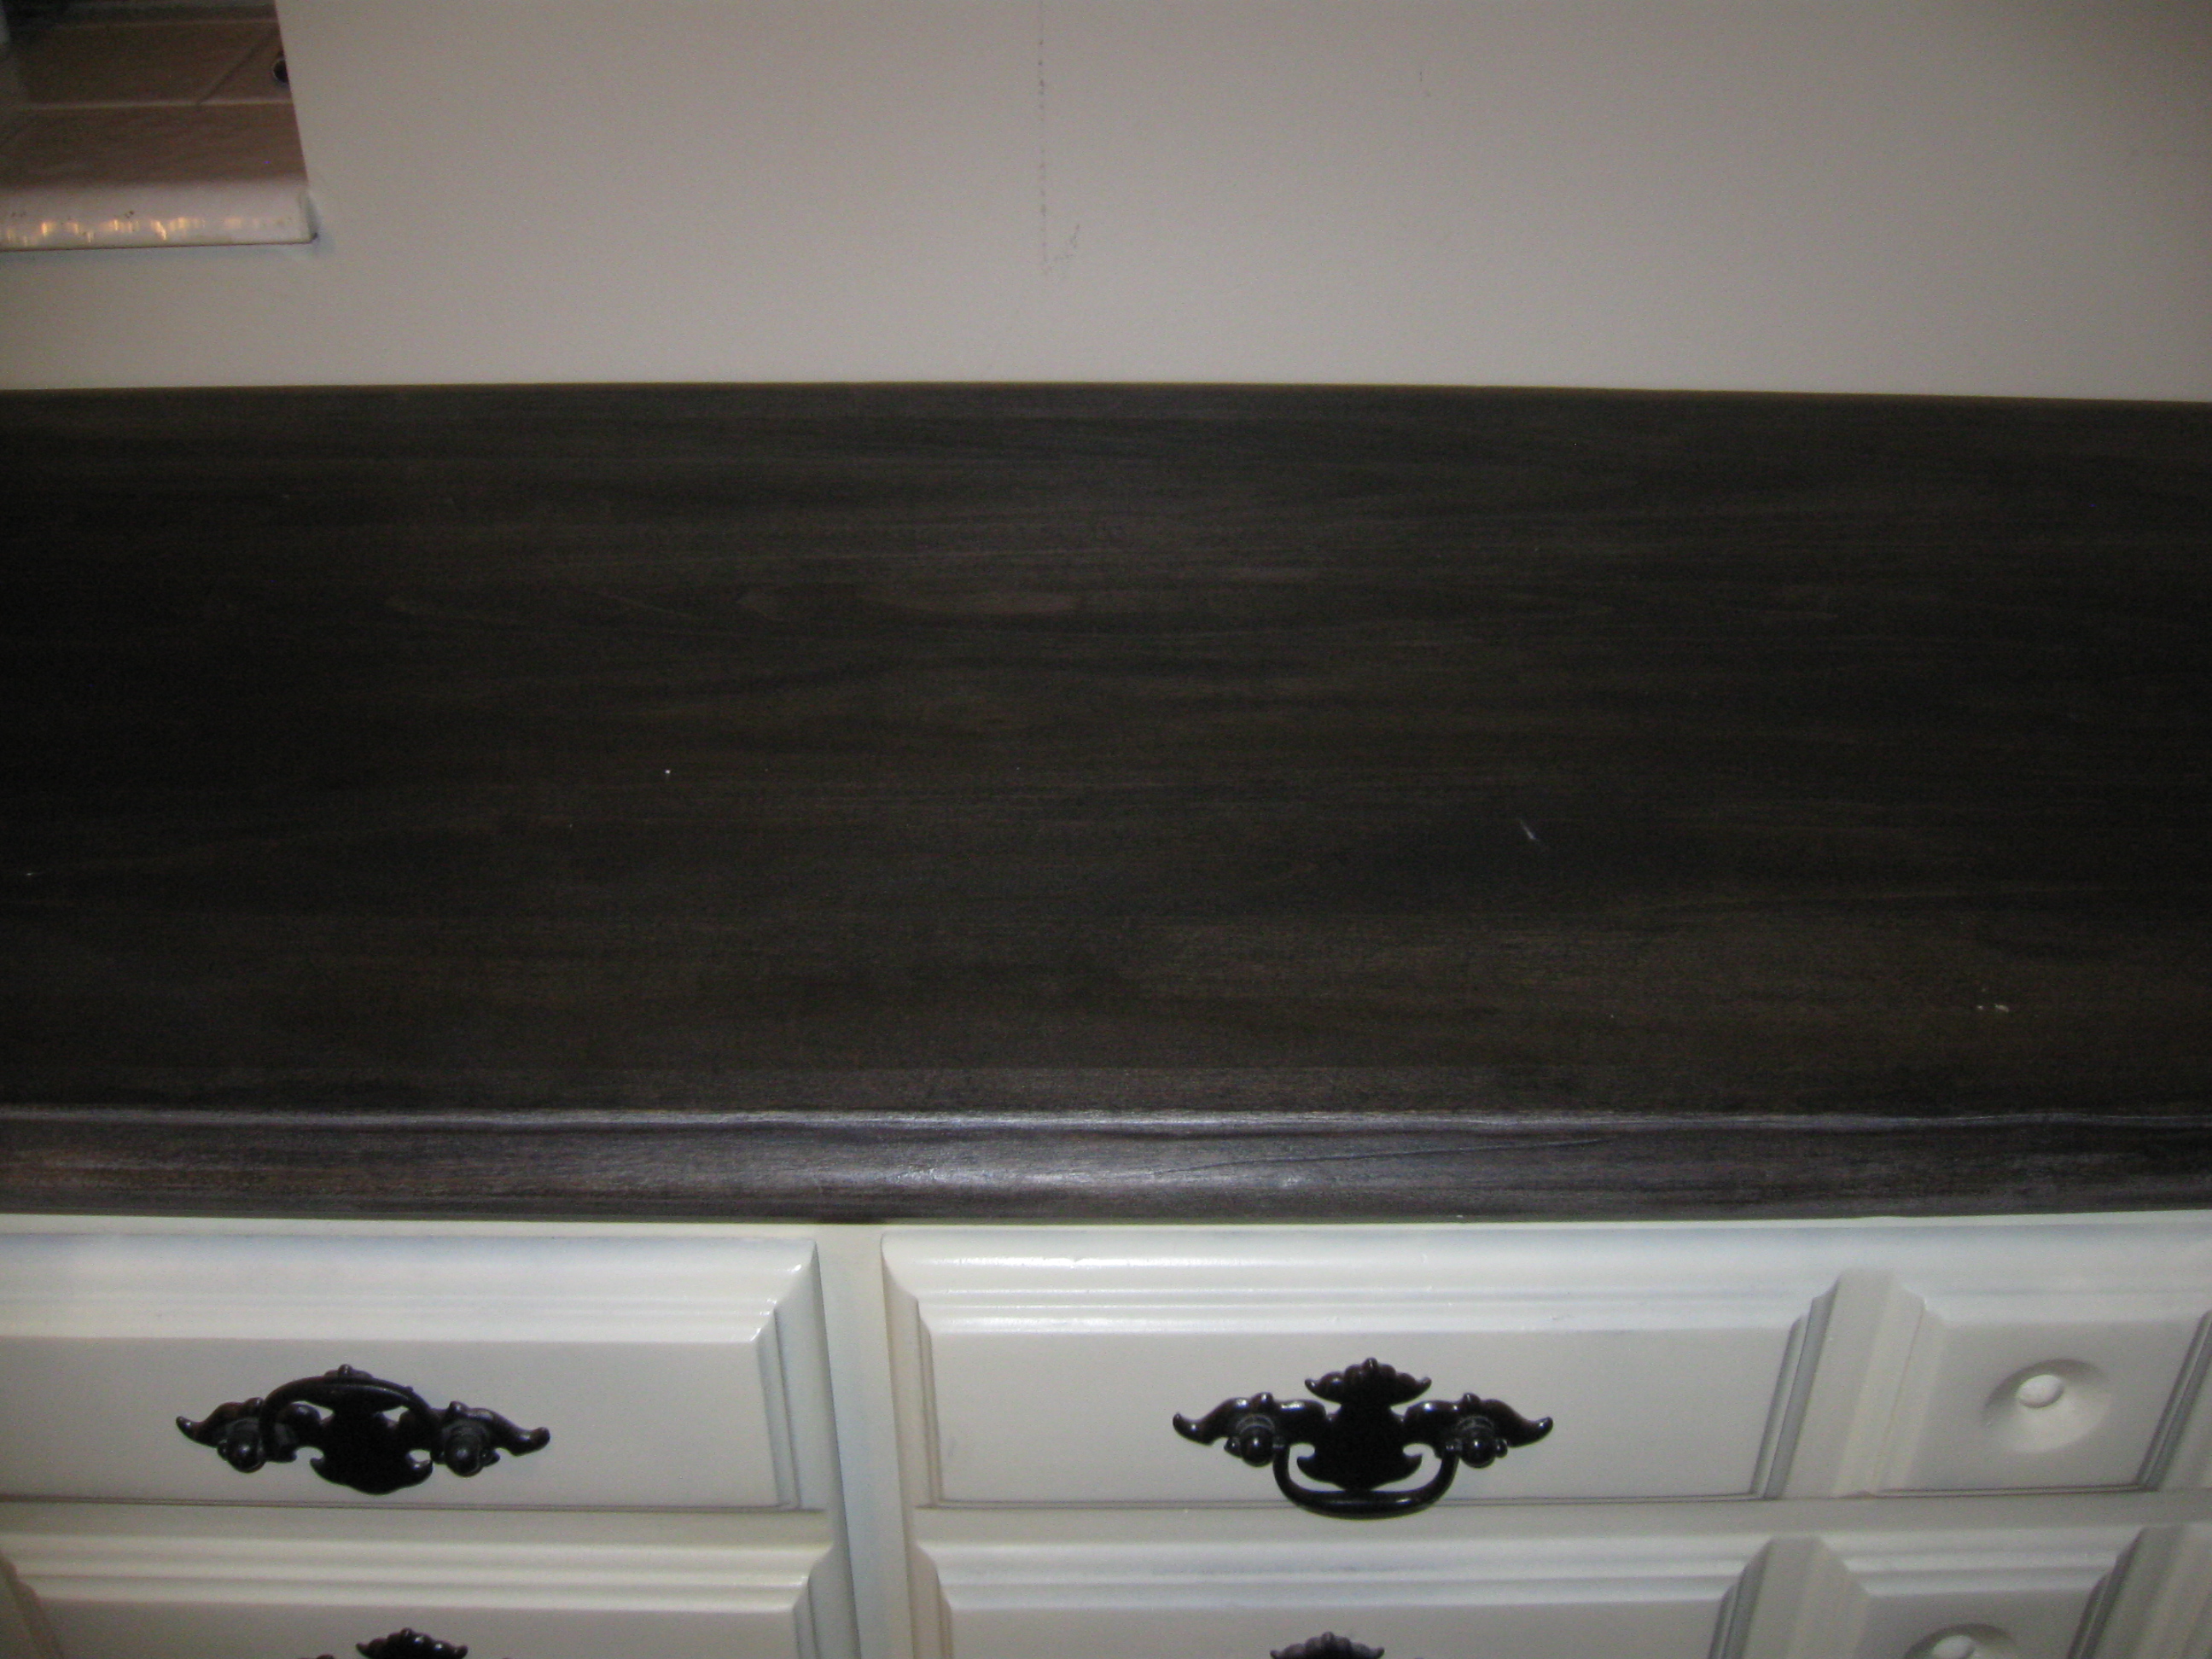
The fourth snag was that I couldn’t decide what to do with the top of the dresser. The easy thing would be to paint it off-white like the rest of the dresser. But I’d seen a picture of a white dresser with a stained-black top that I kind of fell in love with. The problem was, I couldn’t find black stain. The solution in this case was to wait two years and try the same stores again. Voila! Ebony stain. Two coats and I had this:

One thing I was really surprised by in the whole process was how many coats of both paint and primer it took to get a good, even off-white look. Even now, some of the drawers look slightly splotchy and uneven. Everywhere that’s off-white took 3-4 coats of primer and 4-6 coats of paint. After we moved here and I had a big garage to work with, I just kept everything out and would quickly do a coat of primer or paint on whichever part of the dresser I was working on each time I went out to the garage for something, usually two or three times a day. If you’re doing a project like this, don’t skimp on paint! I actually thought I was done with some of the drawers, only to realize once I got them inside that they didn’t look as good as I’d thought. Back out to the garage they went.
You think I’m done with snags? Not yet. So, I mentioned that the dresser sat in our garage for two years. In that time, the drawers that I’d actually “finished” with got dinged over and over by bikes, car doors, kids, whatever. Paint peeled off in lots of tiny spots. In this case I was kind of lazy. I was just tired of working on it and wanted it done, so I just painted over them unless they were especially bad. I learned later that a coat or two of clear coat would have protected the paint better. My finished dresser has clear coat all over.
Which brings me to the final snag. I was finished painting one of the very last drawers (the very last? I can’t remember) and wanted to spray on the clear coat. I grabbed a can with a clear lid that didn’t have any color label without reading it closely. Yeah, it was the black Rustoleum I’d used for the pulls. I couldn’t decide whether to laugh or cry. Luckily, it sanded right off, and the drawer looks fine now. So yeah, look before you spray.
Here’s another look at the finished product.
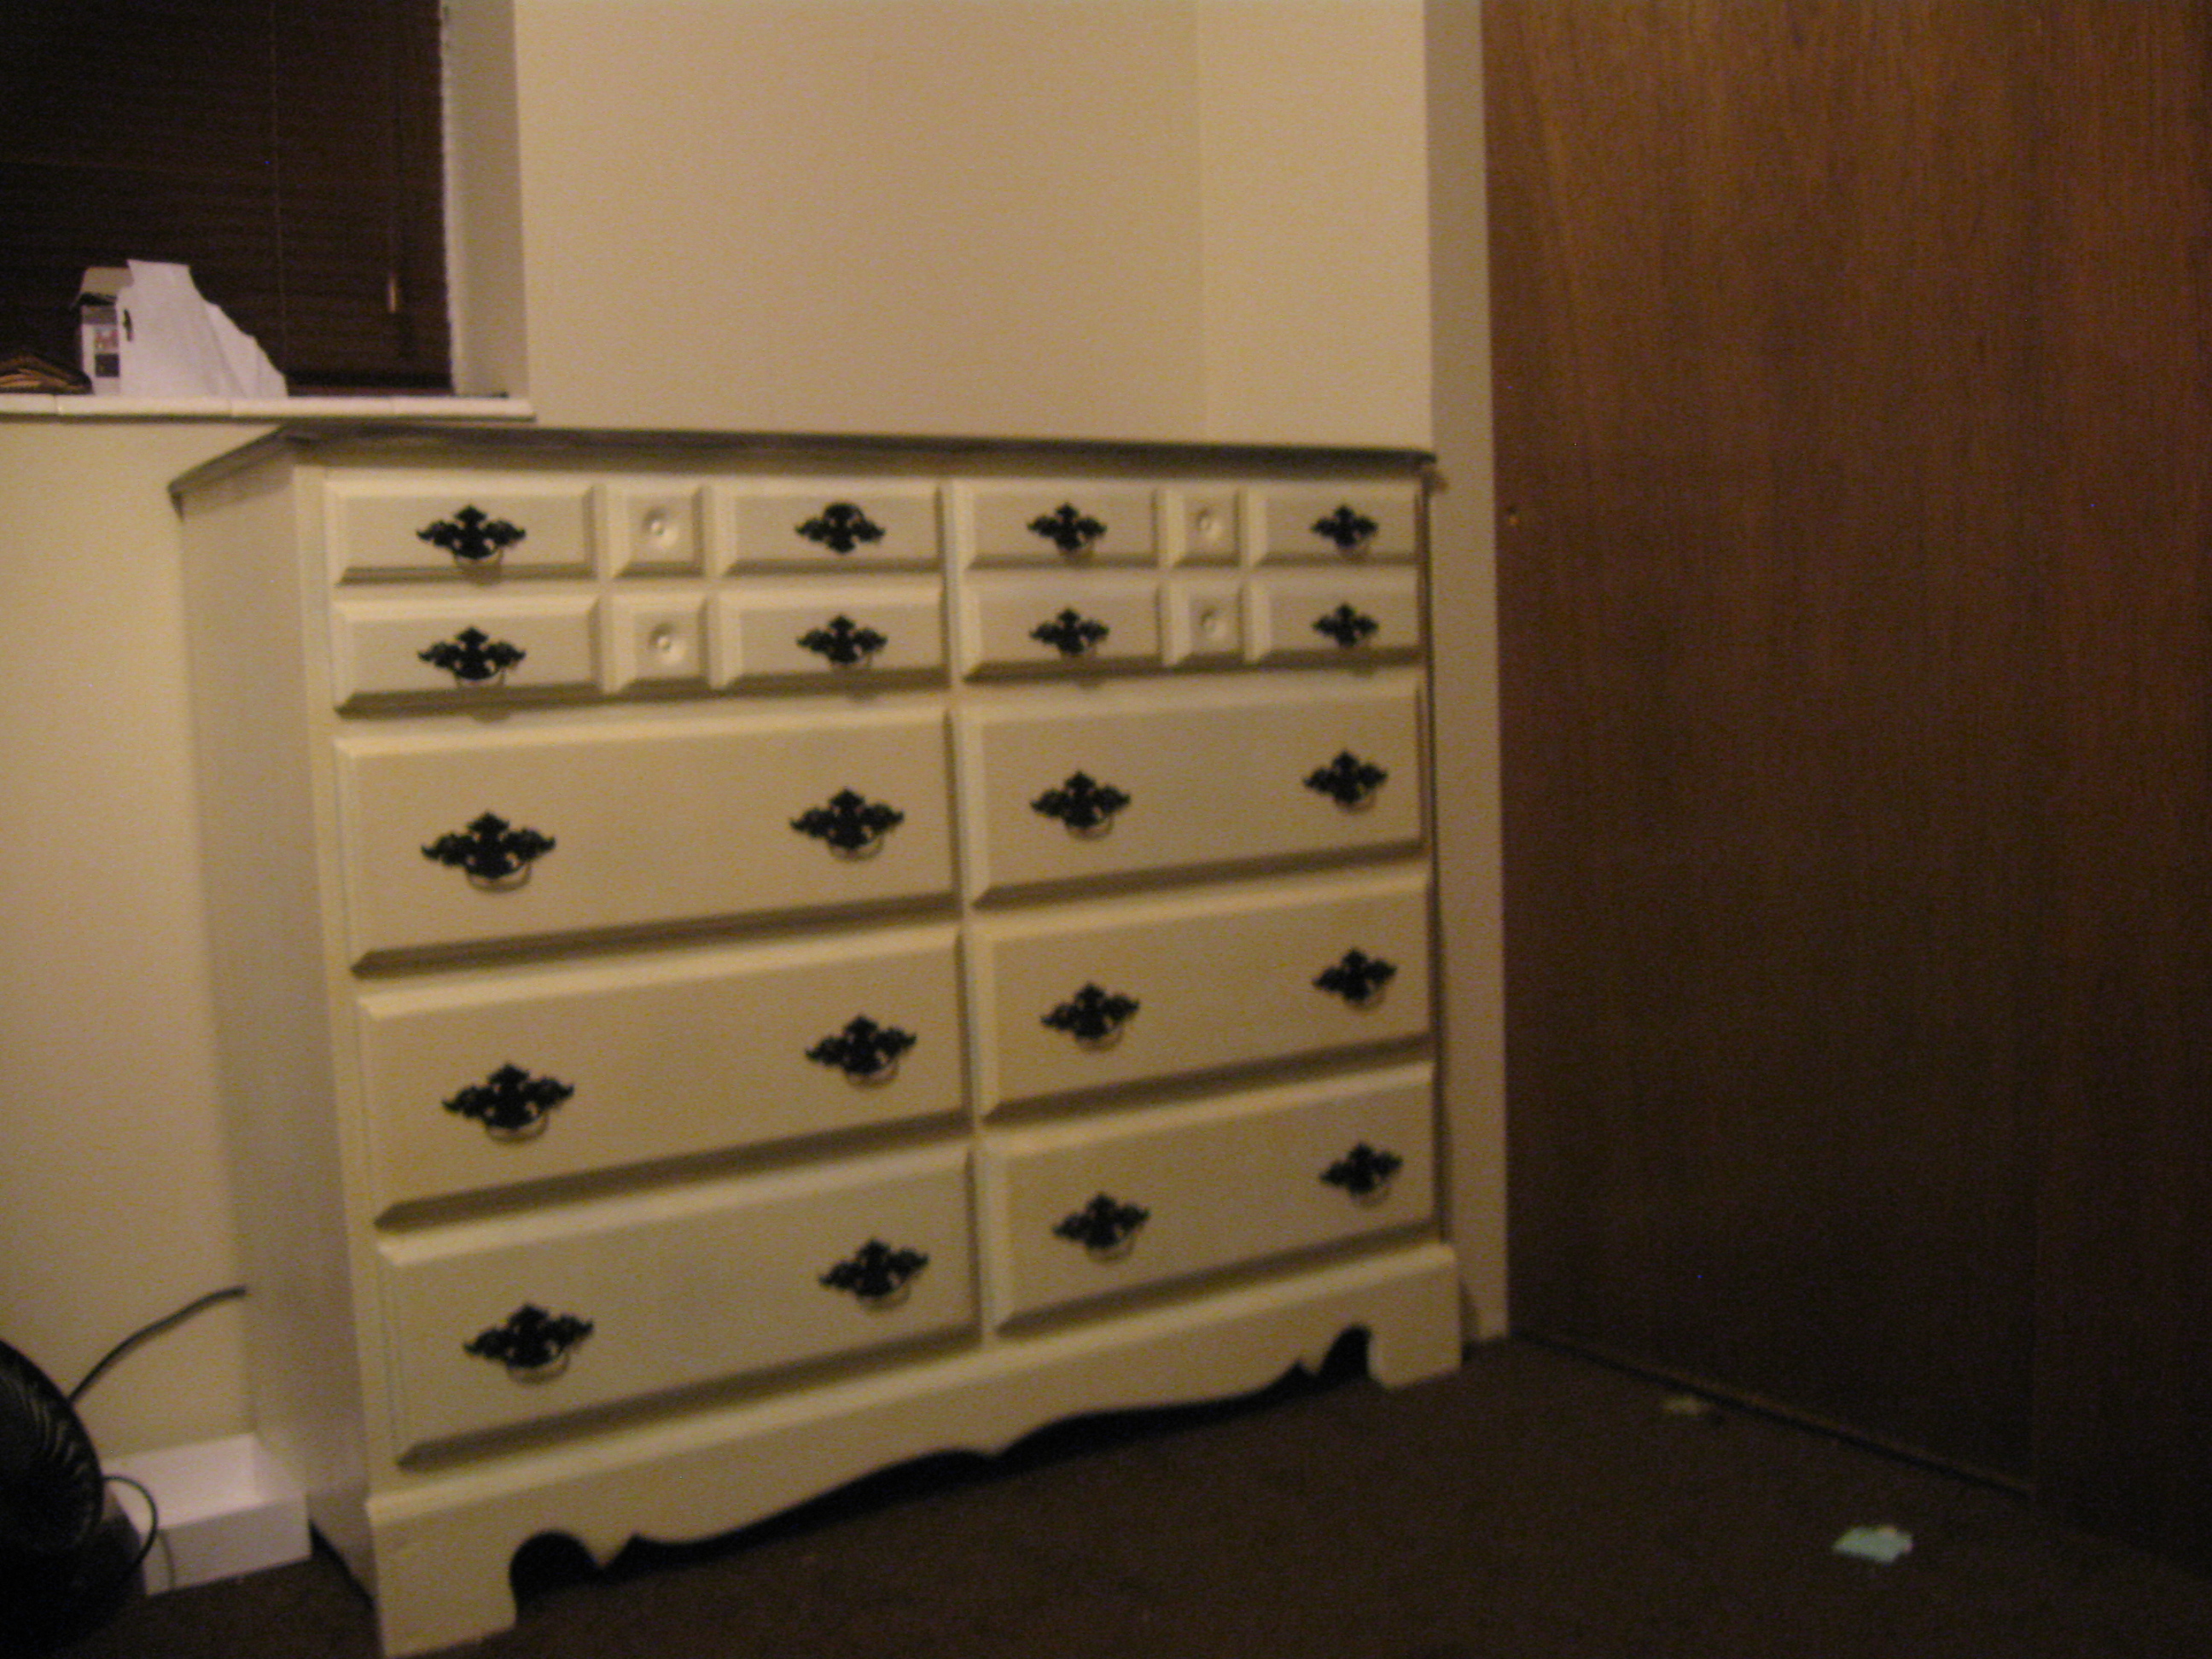
It’s definitely not perfect, but I’m proud of it. I had such a hard time with it, though, that I’m not sure how eager I am to try another project of this type. A lady I was talking to the other day said she repainted her entertainment center (which was gorgeous!) in two days. Is such a thing even possible?!